Challenges:
Challenges 4 Everybody - Anything Goes (3 entries only)
613 Avenue Create - Anything Goes (3 entries only)
Auds Sentiments - Anything Goes
The Shabby Tearoom - Sweet as Sugar (Use Blue, Pink, White/Cream and Flowers)
No Matter Which - Bingo!(Die Cut, Flowers, Sparkle (the flowers are glittered))
Country View Challenges - Die Cuts
My Mums Craft Shop - Dies, Dies, Dies (3 entries only)
Robyn's Fetish - Dies or Punches (3 entries only)
Card Mania - Shabby Chic (3 entries only)
Love to Create - Vintage or Shabby
Heck of a Challenge - Bingo! (Pearls, Die Cut and Flowers)
One Stitch at a Time - Pretty It Up
Deep Ocean - For a Girl
Eclectic Ellapu - 3 Things with B (Blue, Bling, Butterflies)
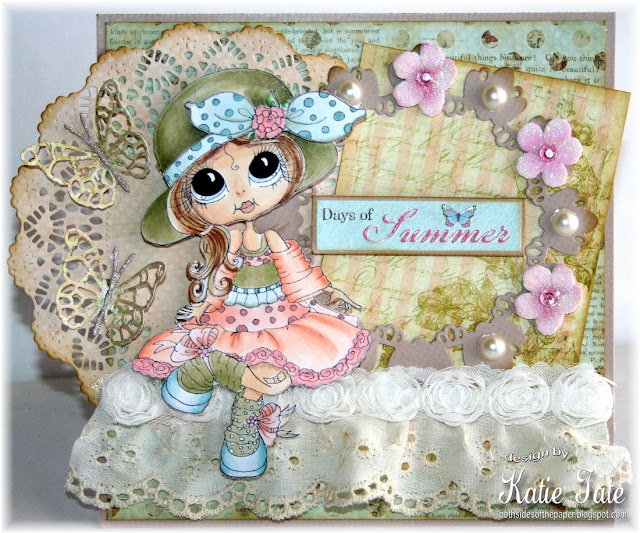
Card Recipe:
Image - Sherri Baldy
Copics Used - Skin E50. E11, E15, E04, BV00
Hair - E30, E31, E33, E37, E39
Leaves - YG61, YG63, YG67
Flowers - R20, R11, R81
Hat and Socks - YG91, YG93, YG95
Dress - YR000, YR00, YR01, YR02, R00, R01, R12, E04
Bow and Shoes - BG70, BG72, BG93
Paper - Butterfly Garden by Pink Paislee
Sentiment - K and Co
Trims - Hobby Lobby
Flowers - Jolees
Doily Die - English Tea Party by Cheery Lynn Designs
Deco Circle Die - Falana Circle by Memory Box
Butterfly Die - Vivienne by Memory Box
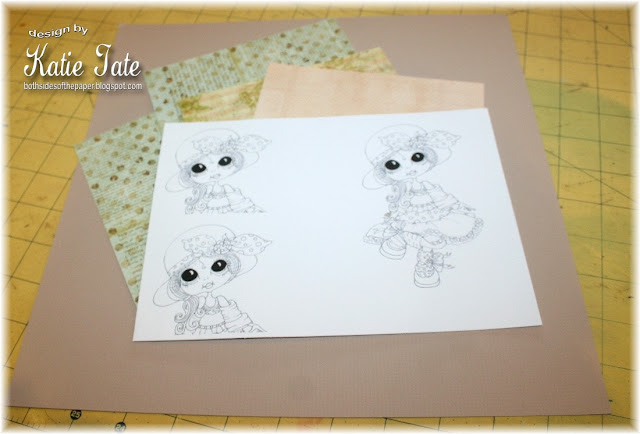
First thing I do is work out which areas of the image I want to pop up and in this case I chose the whole head and then the bow as a thrid layer.
I printed out the parts I needed. To ensure they all match sizewise it is important to choose the size of the whole image first, then copy and paste it so you have the exact same size for the layering.
I have been doing this for ages and am confident enough to crop and paste but for a beginner I suggest pasting the whole image.
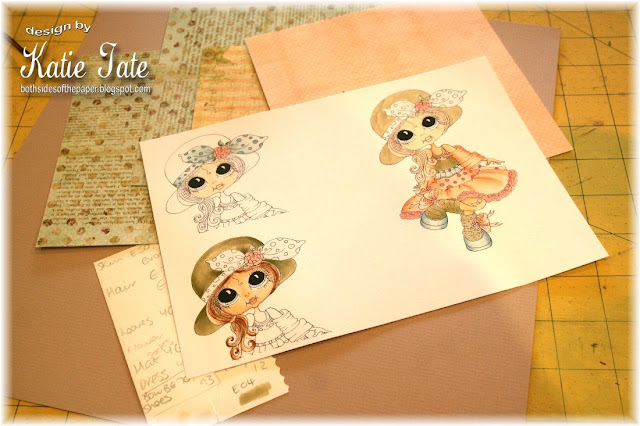
Next color the images so match your papers. You will see that on the whole image the head is only colored with one layer of color, no need to waste ink on shading when it will be conered by a popped up layer. You will see the same thing on the bow part of the hat.
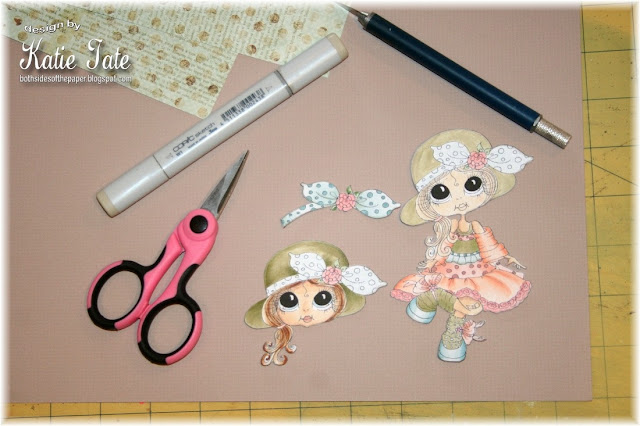
When you have colored your images it is time to cut them out. Use small sharp scissors and an exacto knife to get into the small spots, like around the hair. When you have cut them out I use a grey Copic (W1) to go around the edge of the image to color in any tiny parts of white that might be showing.
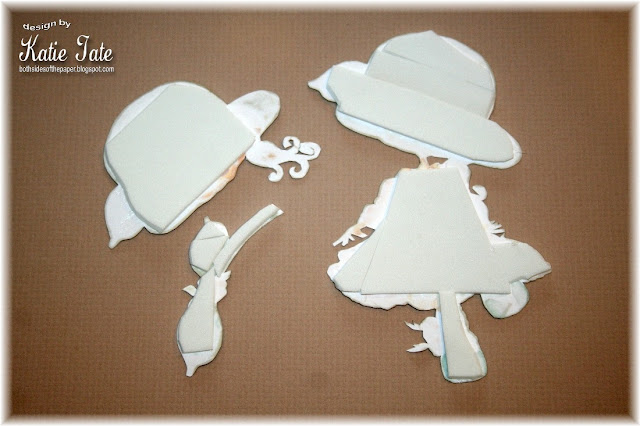
Turn the images over and use craft foam on each layer to pop it up. I use my ATG gun to adhere the foam but you could use foam glue if you like. You could also use silicon glue instead of the foam but I prefer the foam sheets.
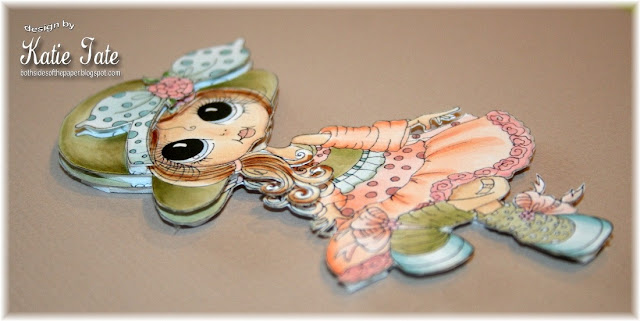
Here you can see the depth that the decoupage gives to the completed image.

Now complete your card as desired.
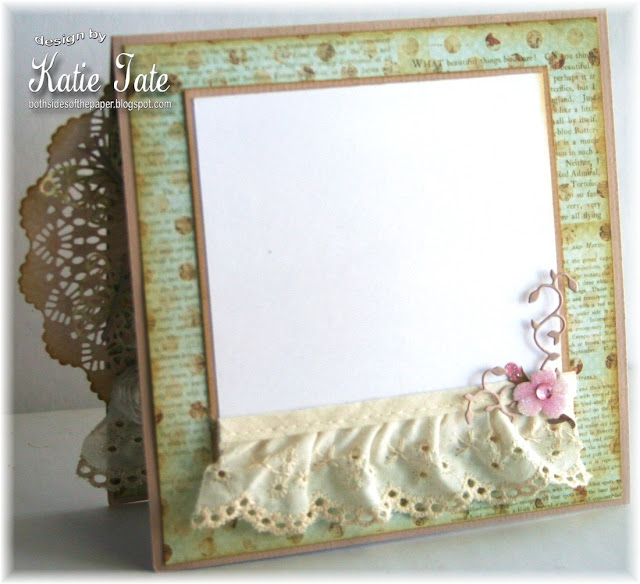
I like to echo the outside design on the inside of my card for continuity.
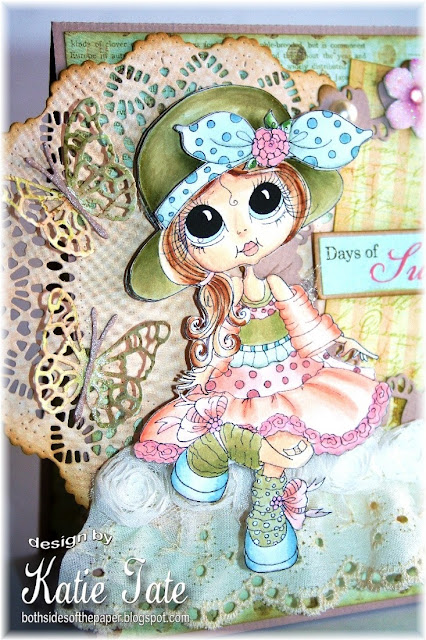
Here you can see the completed image closer on the card.
I hope you have enjoyed my little tutorial and that next time you color a Bestie you may give it a try.
Katie
18 comments:
This is gorgeous Katie and I love how you have layered her. She is beautifully coloured and I love the design.
Hugs Sharon x
A really gorgeous card Katie and what a super tutorial you have given on colouring and layering digi's. Awesome job. Good luck in this weeks OSAAT challenge and hope to see you back again soon. Hugs Jane OSAAT DT
WOW you did such a great job on this! I JUST discovered Besties & now I have several. Hard to just buy 1! Congrats also on guest designing at Fussy & Fancy! You did a beautiful job on that card as well!
Cheers!
Great tips on layering! Your card is gorgeous with lovely embellies. We're glad you stopped by our neighborhood at 613 Avenue Create.
Gorgeous card! Thank you so much for playing along at Card Mania! Good luck!
A gorgeous and beautiful card. Thank you for joining us at Card Mania Challenge.
Evie DT
Katie she is very very pretty! Thank you for playing along this week at OSAAT. I sure hope to see you back again very soon. Good Luck in the challenge!!!
TTFN,
CraftyGirl OSAAT DT
craftygirlcardsandcrafts.blogspot.com
Hi Katie! Wow, this is beyond fabulous! Just stunning...love the card shape and that lace on the bottom. Your coloring is AWESOME...love your tutorial, so well done. Great job with the foam, that looks so groovy. Thank you for joining us for our Pretty Challenge this week at OSAAT! Best, CG :)
this is gorgeous thank you for playing along us at ECLECTIC and good luck
Jacki xx (ECLECTIC DT) http://scullduggery-cardsbyjacki.blogspot.co.uk/
http://punkyougirl.blogspot.co.uk
Wow! You make such beautifully detailed and gorgeous cards! I am in awe!!!!
:) Jill
Gorgeous card, such a cute image and perfectly coloured. Thanks for sharing with us at NMWC
Claire xx
A lovely card and fabulous colouring and decoupage. Thanks for sharing it with us at Country View Challenge this month. Enjoy the rest of your weekend Jennie x
Katie, this is just fabulous! Thanks for the tutorial. I am featuring you on our challenge blog this coming Sunday!
Hugz,
Chana, Owner
613 Avenue Create Challenge Blog
Stunning work. Thanks for playing at OSAAT this week.
Hugs Nataliya
It's a wonderful card! I love all the details, the colours, the embellishments! thanks for playing with "Robyn's Fetish" this week. Good luck!
so pretty - love the die cuts and the decoupage
Thanks for joining us at Heck of a challenge this month
Lisa x
Gorgeous details! TFS the tutorial
Beautiful card and image. I love the butterflies. Thank you for sharing and joining us at NMWC. Hugs, Velma
Post a Comment